Rerurn to Romy the Cat's Site
In the Forum: Horn-Loaded Speakers
In the Thread: Jessie Dazzle Project
Post Subject: Centering the S2 (images)Posted by jessie.dazzle on: 9/28/2007
Romy quotes in blue (pulled from the "Adding one more channel to the Macondos" thread)
"1) Make sure that your cone is properly center in a gap. It is very important as misaligned cone will do compression at bottom end"
I feel confident that I am able to get the diaphragm centered... I don't fight it. It is also important to apply the same torque to all screws securing the diaphragm calmping plate. Those having experience with mechanical assembly will have developed a good feel for this sort of work.
"2) Make sure that the driver’s center are absolutely in the center of the horn and absolutely parallel to the horn’s axis. That is also very important with MF driver. If the driver does not sit in a perfect optical center of the horn then it will have very sever anomalies, particularly when the horn is towed in or out. With the spherical, low throat horns, as we have, it is very simple to misalign the center of the driver for a few fractions of mm"
To locate the S2s I use a plate made from 10mm thick aluminum, which is cut and trued on a lathe... the large central hole for the S2 is bored and threaded while still on the lathe. Six mounting holes are then drilled in the plate using a mill. This plate is then paired with a concentric spacer which allows establishing the axis of the horn as it is "turned". Once done, the S2 has no choice but to be centered.
Here are some images of the mounting plate and the process :
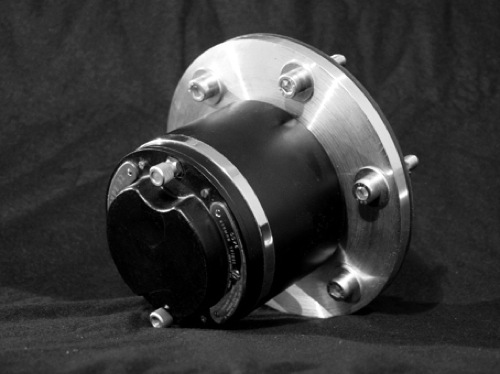
S2 with mounting plate (rear view)
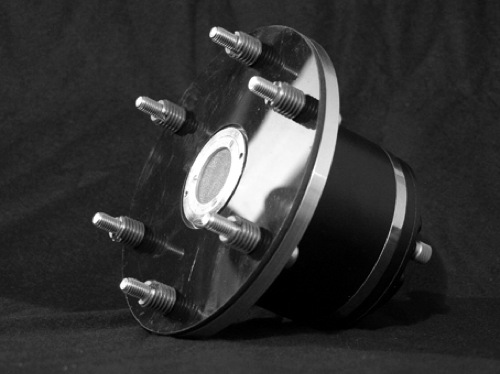
S2 with mounting plate with spacer (front view)...
This spacer is of a thickness that corresponds to the
non-threaded tip of the nose of the S2.
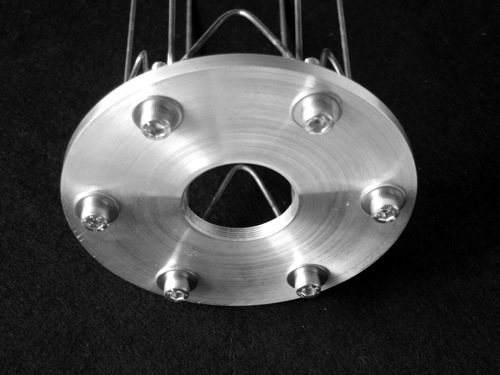
Mounting plate with anchor (plates cost a fortune to
have machined, but the result is worth the cost)
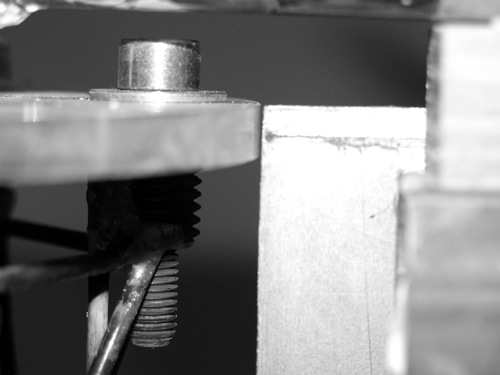
Critical step part I : Verifying that the plate is centered
before locking it in place with hemp and plaster...
To do this the entire assembly is rotated on its axis while
measuring and adjusting the clearance between the plate
and the stationary template (at right)
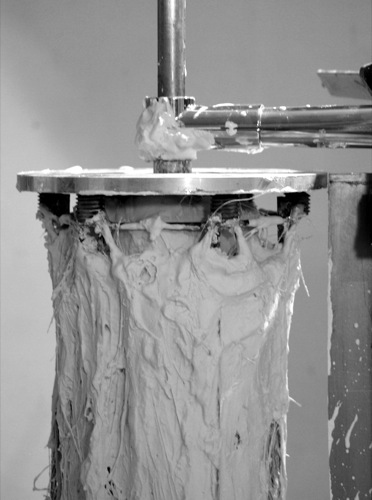
Critical step part II : Locking the plate
anchor in place with hemp and plaster
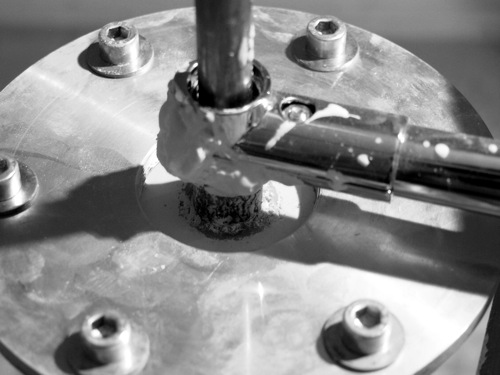
Plate and upper stabilizer amr (horn is done in this
image)
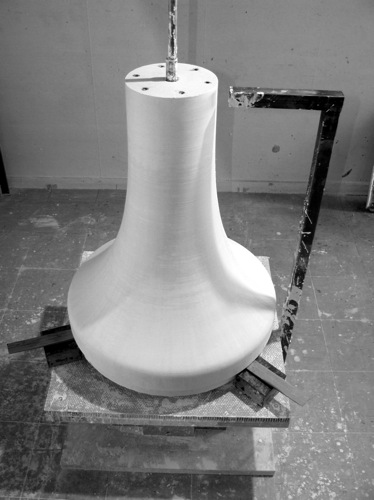
Done and waiting for the core to drop out
This horn required that I do a special little dance involving candles, insence, and a big rubber mallet before it would release the core... Next time I will film the ritual and post it on YouTube.
jd*
Rerurn to Romy the Cat's Site